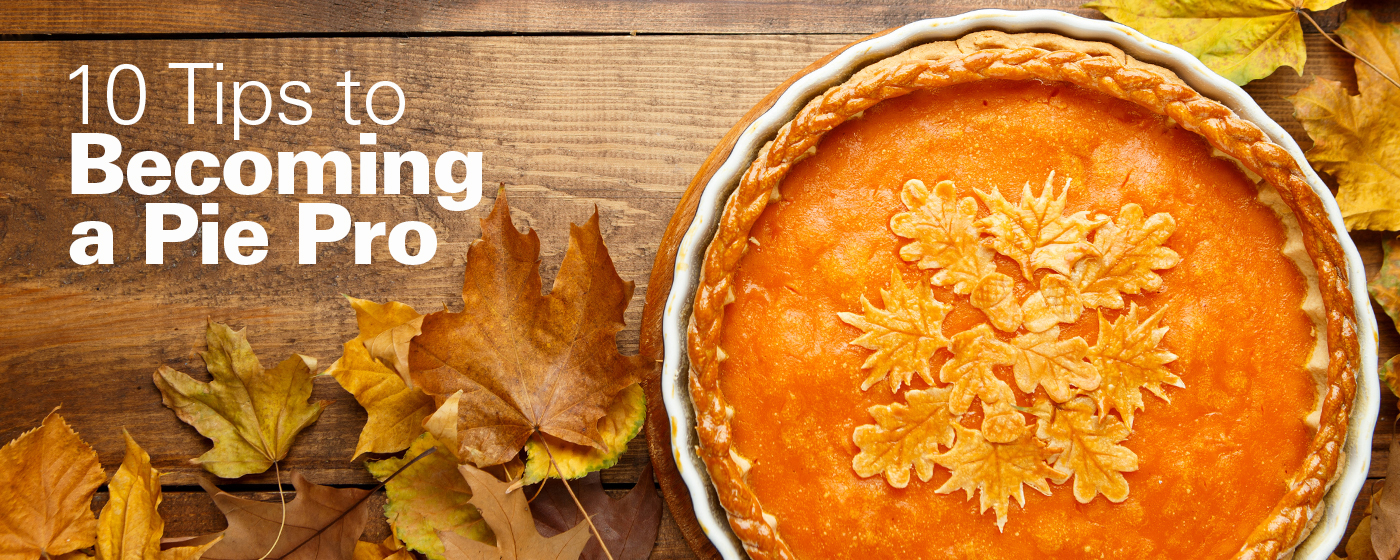

Our Test Kitchen here at Hamilton Beach makes a lot of pies (and other tasty treats) — which means they have a lot of experience baking the perfect pie. If you’ve ever been intimidated by a pie crust or filling, these 10 simple tips will help you create a superior pie, every time.
Test Kitchen Tip: Use a food processor to blend butter into the dry ingredients. Using the pulse setting lets you control how blended the ingredients get with just a few pulses.
Test Kitchen Tip: Try putting your butter in the freezer for 10 minutes before adding it to your dry ingredients. Your hands can transfer heat to the dough, so using a food processor helps keep your ingredients cold throughout the process.
 Rolling dough out large enough so you do not have to stretch it to cover your pie pan is critical to ensuring your pie does not shrink while it is baking. Start by sprinkling a pastry cloth or parchment paper (and your rolling pin) lightly with flour, then roll the dough out starting from the center and rolling outward each time. Every few rolls, turn your dough a quarter turn so you can roll it out evenly. A cold surface will work best.
Test Kitchen Tip: To determine how large your dough needs to be for your pie pan, take the width of your pie pan and add twice the height — for example, a 9"W x 1-1/2"H pie pan needs a 12"W bottom crust.
Test Kitchen Tip: If you are par-baking your pie dough, prick the bottom and sides of the crust with a fork (also called "docking") to prevent your crust from bubbling up during baking. These tiny holes allow steam to escape, preventing the crust from puffing up. Alternatively, you can line the uncooked crust with parchment paper or foil and fill it with pie weights, uncooked rice or dried beans to hold it down. When it’s done baking, you can pull everything up without any sticking.
Test Kitchen Tip: Resting of the pie dough allows the gluten to relax, which helps with creating a flaky pie crust.
 If you cut a pie too soon after baking, your filling may not have had time to set and will spill out of the crust. The pie plate should be cool to the touch when you place your hand on the bottom center before you slice into it.
Test Kitchen Tip: The meringue should be stiff and glossy, and the sugar should be dissolved. If it breaks down or separates, it’s overbeaten. Add a little cornstarch to the meringue to help it firm up and retain shape by absorbing extra moisture.
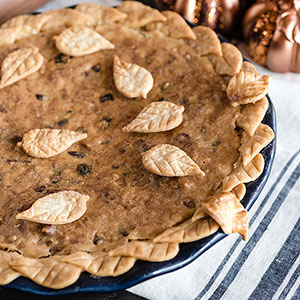
Test Kitchen Tip: Follow our recipe for Cinnamon Sugar Pie Crust Chips and use them to decorate your pie or as a delicious chip for scooping up sweet dips.
Test Kitchen Tip: It’s easy to make a pie shield at home — just cut a piece of aluminum foil that is as big as your pie, then fold it into quarters. Round the edges by cutting the outside corners, and cut out the center following the same curve until you have a two inch circle of foil left. Just unfold the foil, place it around your pie so it covers the outer edges of the crust and bake. Make sure to remove the foil 20 minutes before the pie is done.
Test Kitchen Tip: Form dough into flat disks, shape the dough into disposable pie pans, or freeze fruit pies as a whole, unbaked pie. However you decide to freeze your dough, wrap it in plastic wrap, aluminum foil or slide in a freezer bag before placing it in the freezer.
