15% off + FREE SHIPPING sitewide. Use code BRUNCH15 at checkout. Ends 5/3/24.

cart

Magnolia Bakery's Red Velvet Cake with Whipped Vanilla Icing

  • Pinterest
  • Facebook
Recipe - Magnolia Bakery's Red Velvet Cake with Whipped Vanilla Icing

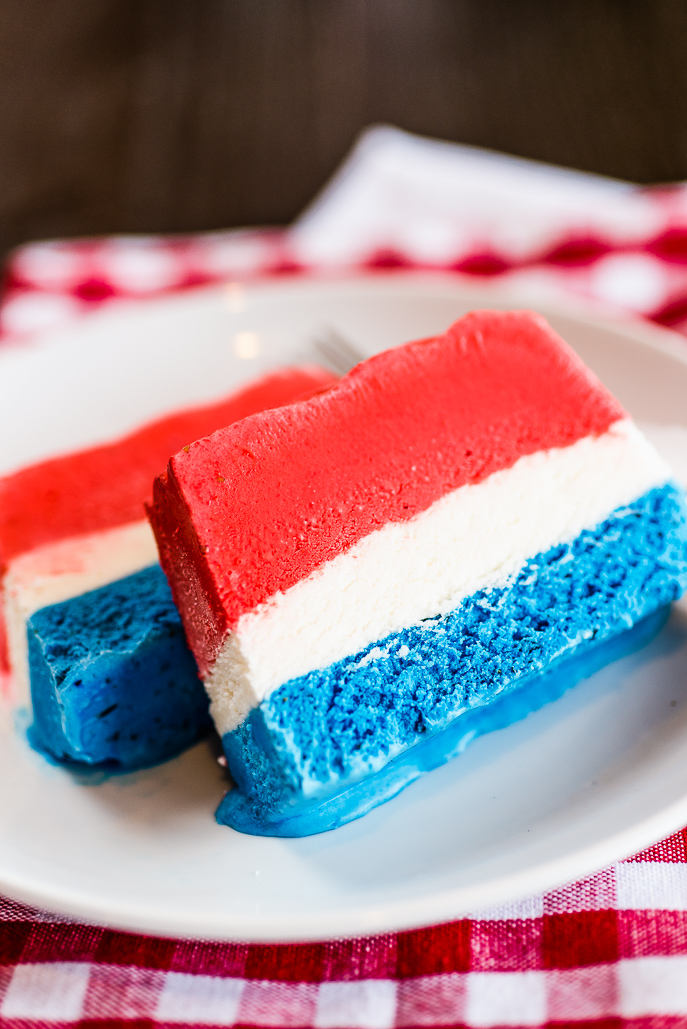
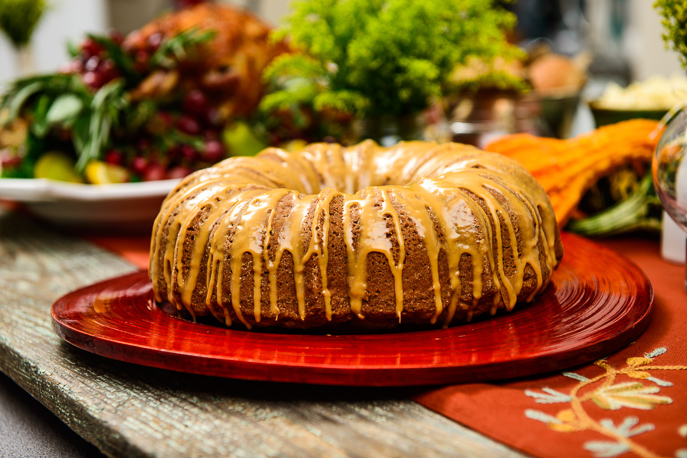
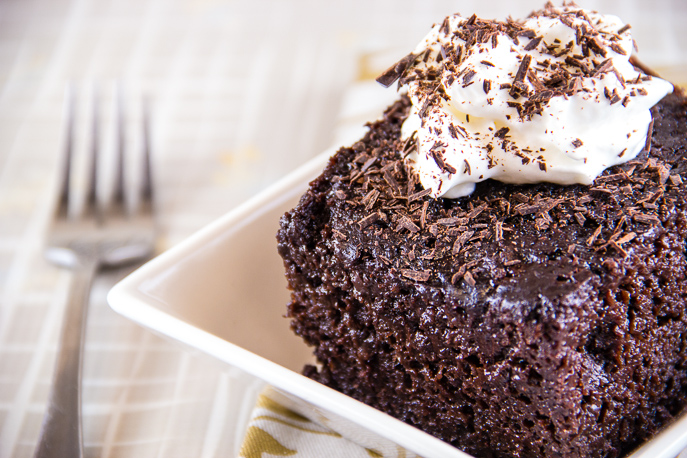
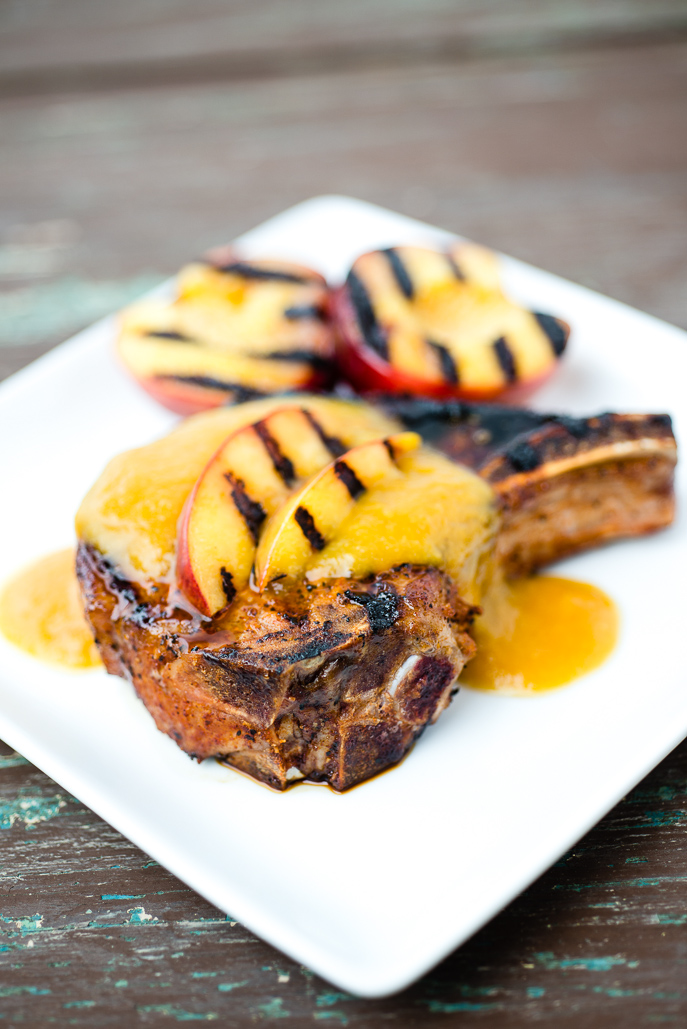
Image and Recipe from Magnolia Bakery

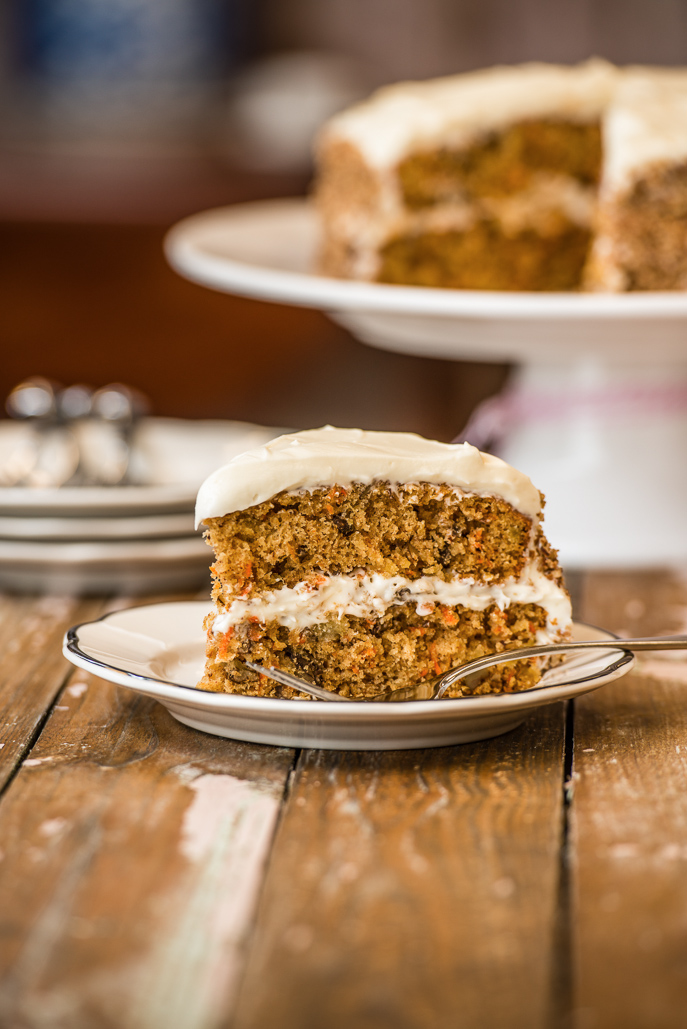
Much has been debated about the origins of red velvet cake, widely considered a Southern tradition dating back to the late 1800s, although the Waldorf-Astoria Hotel in New York City is thought be among the first to introduce a very red cake to its menu in the late 1950s. Wherever it began, red velvet cake has been a staple at Magnolia Bakery since its opening in the mid-1990s and remains a beloved classic.

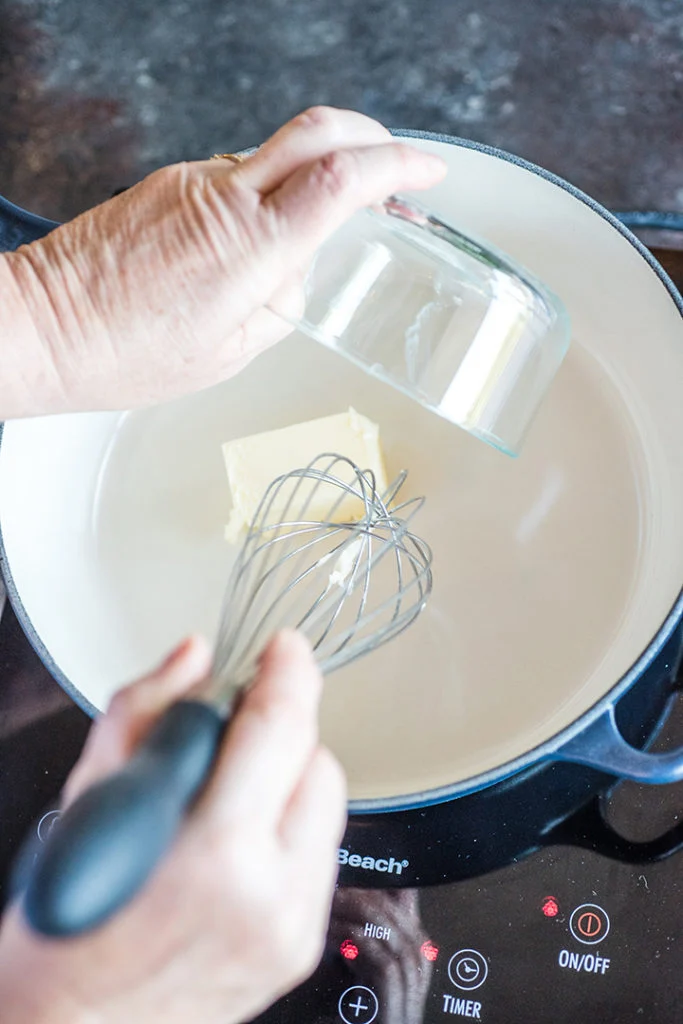
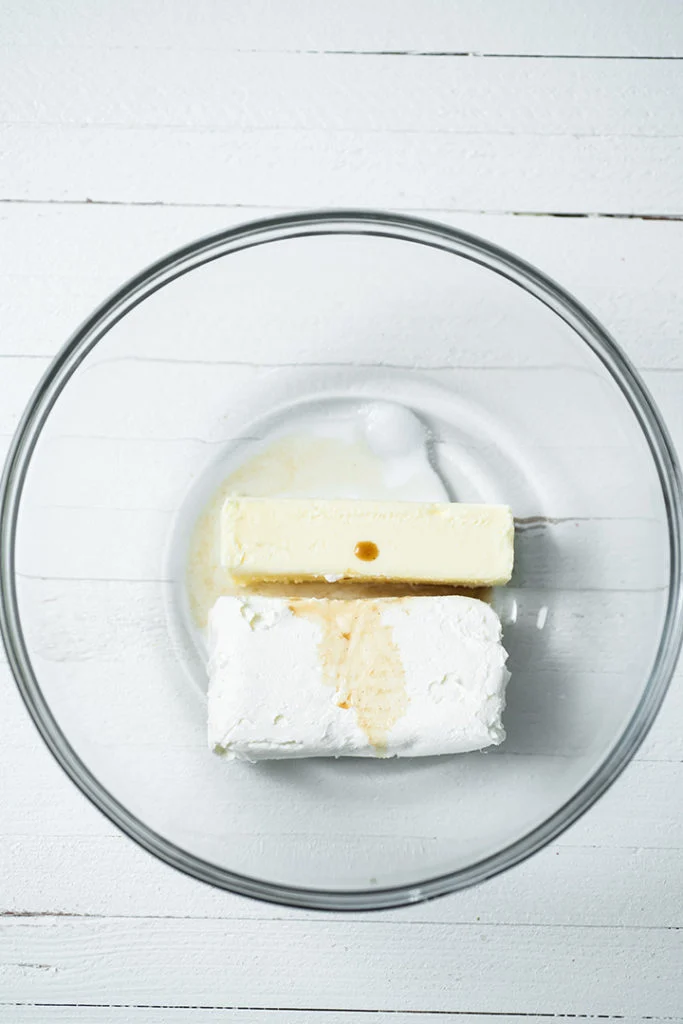
My contribution has been to increase both the cake’s richness and chocolate flavor by adding a darker cocoa, which has more fat, and buttermilk, to create a softer texture with more body. We serve our red velvet cake with an old-fashioned whipped vanilla icing (also known as ermine icing), which is made with a milk and flour roux, sugar, and butter. It’s similar in texture to whipped cream but richer and lusher. If you prefer cream cheese icing, choose from our classic Cream Cheese Icing or Sweet Cream Cheese Icing, which has a slightly sweeter flavor.

Ingredients

  • 3⅓ cups (383g/13.5oz) cake flour
  • 1½ teaspoons salt
  • ¾ cup/1½ sticks (170g/6oz) unsalted butter, at room temperature
  • 2¼ cups (450g/16oz) granulated sugar
  • 3 eggs
  • 6 tablespoons liquid red food coloring
  • 3 tablespoons (22.5g/0.75oz) unsweetened dark cocoa powder (22 to 24%), sifted
  • 1½ teaspoons pure vanilla extract
  • 1½ cups (240g/8.5oz) buttermilk
  • 1½ teaspoons cider vinegar
  • 1½ teaspoons baking soda
  • Whipped Vanilla Icing

Directions

  1. Preheat the oven to 325°F. Grease and flour two 9-inch cake pans. Line the bottoms with rounds of parchment paper.
  2. In a medium bowl, whisk together the flour and salt. Set aside.
  3. Using a hand mixer, cream the butter on medium speed until smooth. Gradually add the sugar and beat until very light and fluffy, 4 to 5 minutes.
  4. With the mixer on medium speed, add the eggs, one at a time, beating well after each addition. Scrape down the bottom and sides of the bowl and the paddle.
  5. In a small bowl, whisk together the red food coloring and cocoa powder. With the mixer on low speed, carefully pour the mixture into the batter, mixing until combined. Scrape down the bottom and sides of the bowl.
  6. In a liquid measuring cup, whisk together the vanilla and buttermilk. Beginning and ending with the dry ingredients, add the dry ingredients to the mixer bowl in three additions, alternating with the buttermilk. With each addition, being careful not to overmix, beat until the ingredients are just incorporated. Scrape down the bottom and sides of the bowl.
  7. In a small bowl, stir together the cider vinegar and baking soda. With the mixer on low speed, carefully add the cider vinegar and baking soda mixture to the batter and combine well. Scrape down the bottom and sides of the bowl.
  8. Evenly divide the batter between the prepared pans. Bake for 40 to 45 minutes, or until the tops spring back when touched and a cake tester inserted in the center of the cakes comes out clean.
  9. Let the cakes cool in the pans for 30 minutes. Transfer the cakes to a cooling rack to cool completely.
  10. To assemble and decorate the cake, place one cake layer top side up on a cake turner. Use an icing wand to evenly spread 11/2 cups whipped vanilla icing over the surface.
  11. Add the second cake layer top side up. Using an icing wand, spread about 11/2 cups icing over the tops and sides in a thin layer.
  12. To decorate the cake with the rosette pattern shown in the photos at left, place the remaining icing in a piping bag with a #1M Wilton tip. Starting at the bottom layer of the cake, place the tip where you want the center of the first rosette to be. With even pressure, squeeze the bag while moving counterclockwise in a circle, ending at 3 o’clock. Start the second rosette where the last one ended.
  13. Work your way around the cake, then start a second row above the first, positioning the first rosette in the center of the two lower-row rosettes. Continue until the entire cake is covered.
  14. When placing rosettes on the top of the cake, work in the round, from the outside in, starting new rounds with the first rosette positioned between two on the previous row.

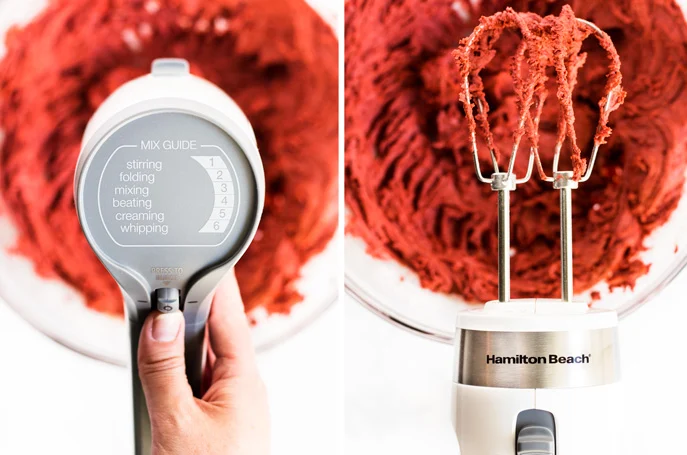
Tip: Liquid red food coloring can stain your hands and your kitchen counters. When working with any liquid food coloring, place the bottle on a baking sheet lined with paper towels. If any droplets escape your watchful eye, they land on the paper towels and not on your counter.

Makes: two 9-inch layers; serves 8 to 16

Related Product Categories

FROM OUR BLOG

VIEW MORE ON OUR BLOG >>

Sample Product Label
Back to Top to the top