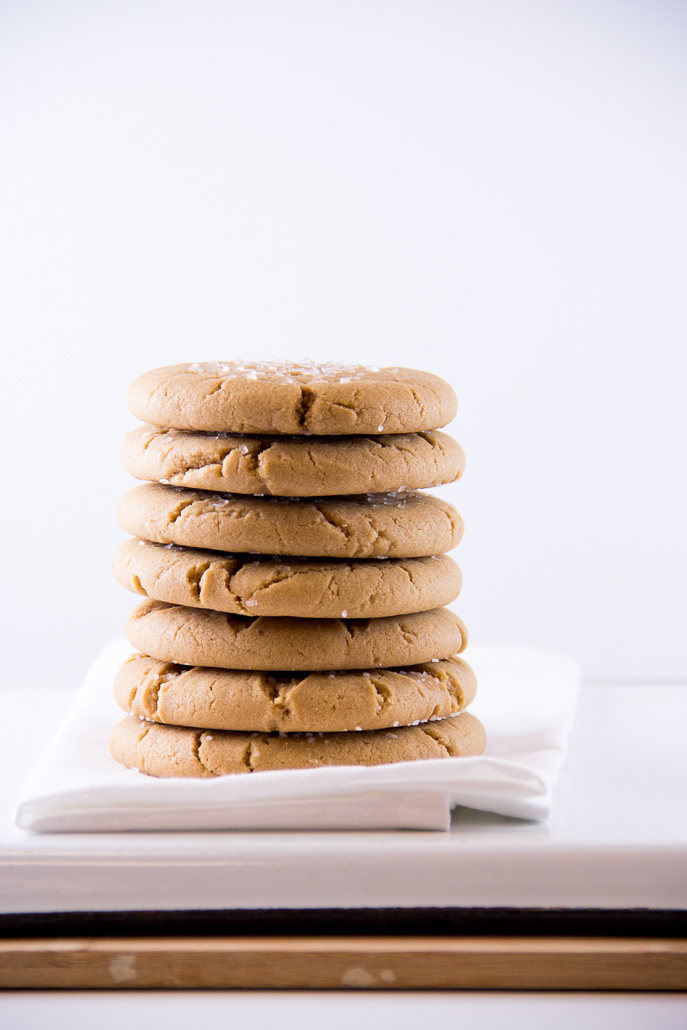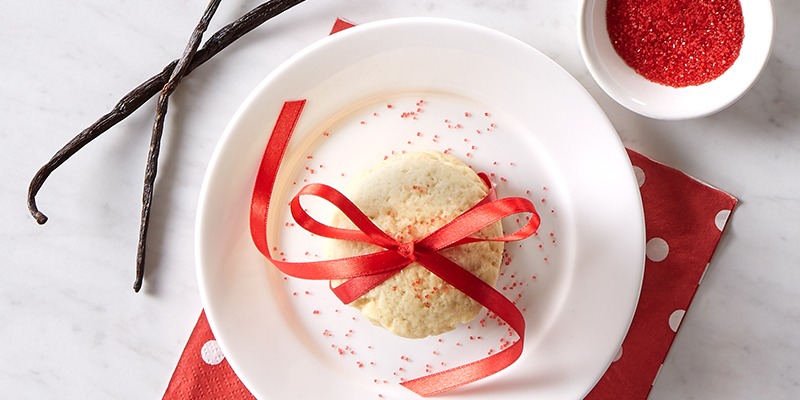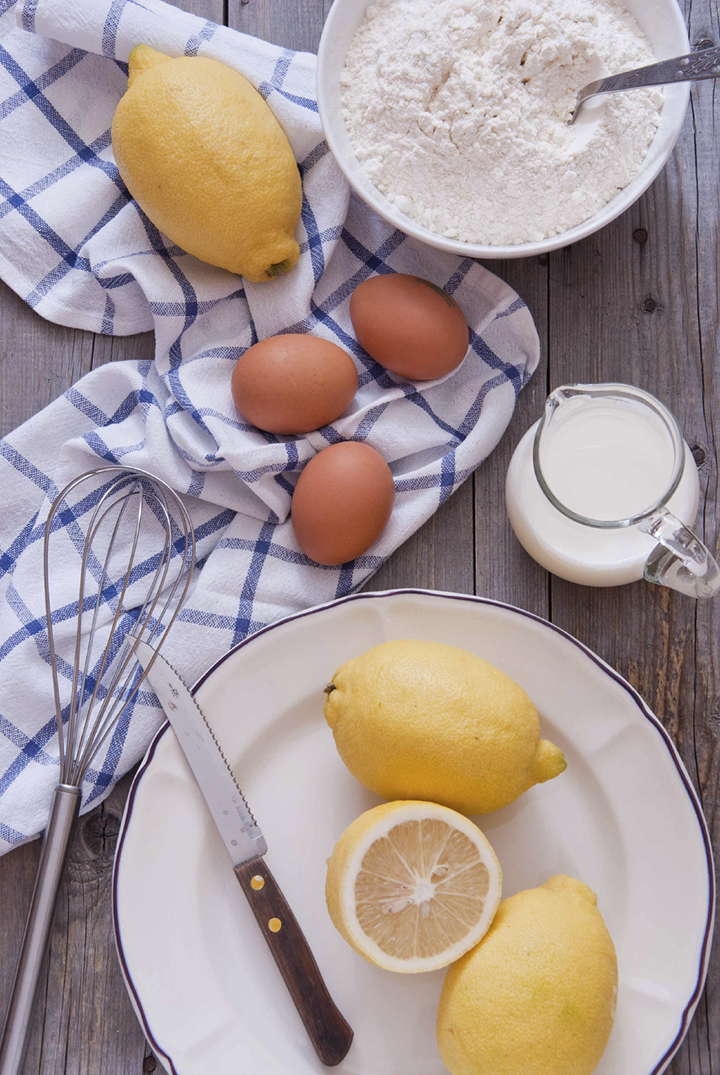
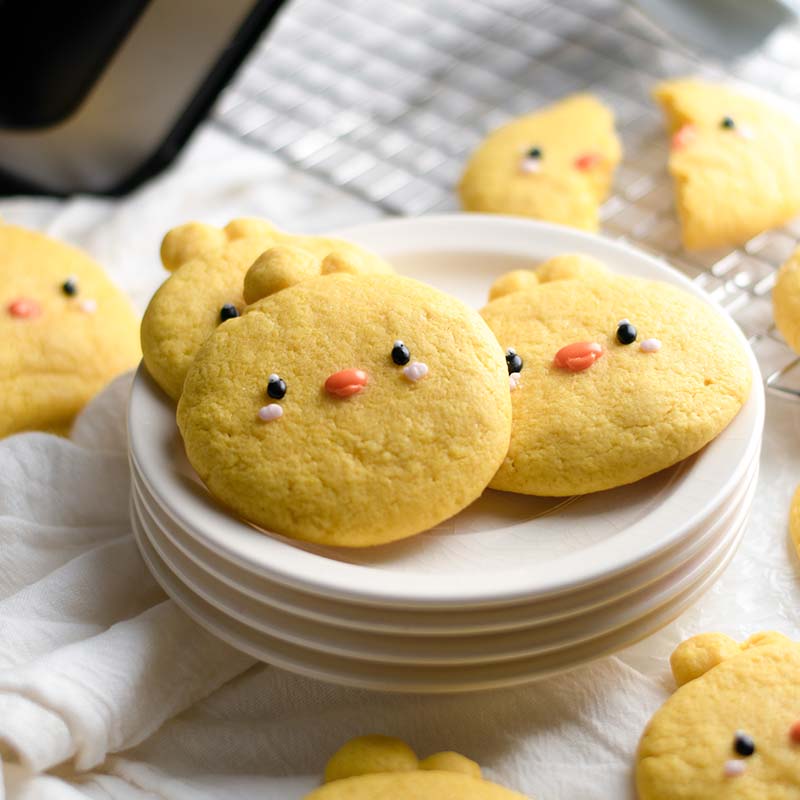
Chick Shaped Lemon Cookies

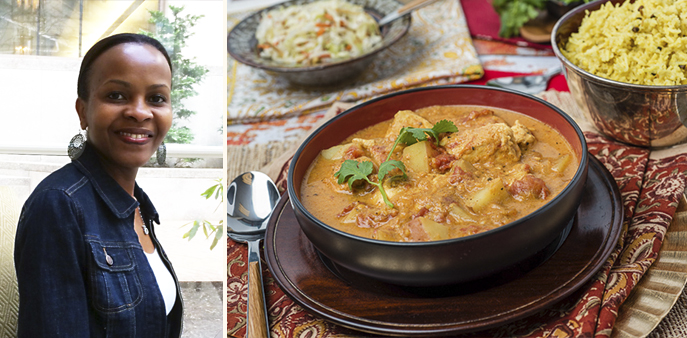
Images and Recipe by Bites by Bianca
Ingredients
Dry Ingredients:
- 1 3/4 cups all-purpose flour
- 1/2 tsp baking soda
- 1 tsp cornstarch
- 1 tsp salt
Wet Ingredients:
- 1/2 cup unsalted butter, melted and cooled (1 stick butter/8 tbsp)
- 1 1/2 cup granulated sugar
- 1 egg
- 1/2 tbsp lemon zest (1/2 medium lemon)
- 3 tbsp lemon juice (1 medium lemon)
- 1 tsp lemon extract
- Yellow food coloring (liquid, gel, or powder)
Decoration for Face:
- Melted white chocolate dyed with oil-based food coloring
Directions
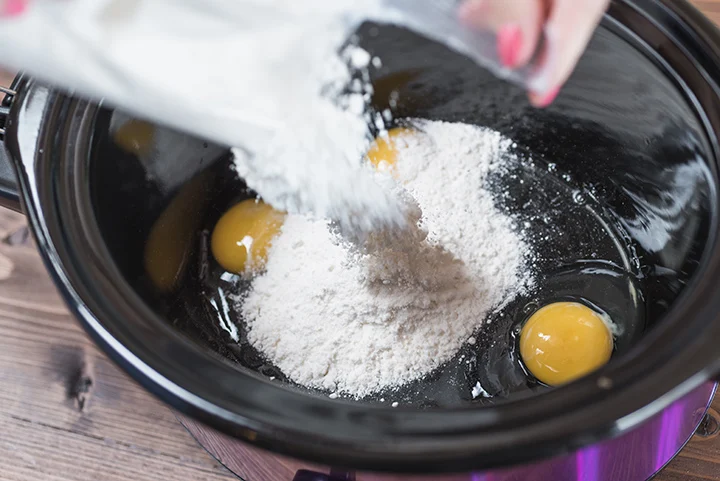
- In a medium bowl, whisk together all of the dry ingredients: all-purpose flour, baking soda, cornstarch, and salt.
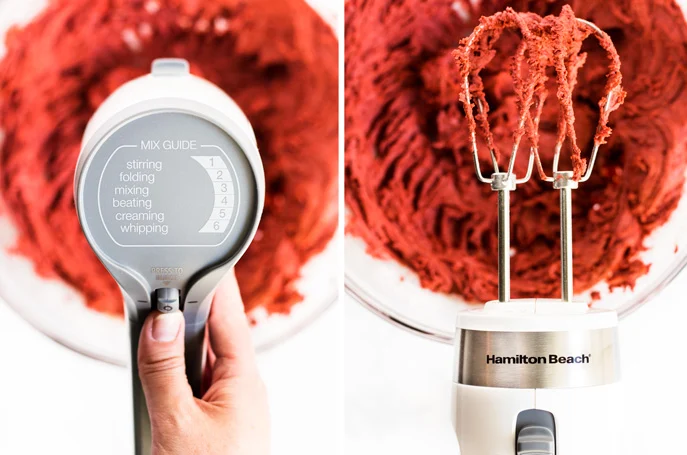
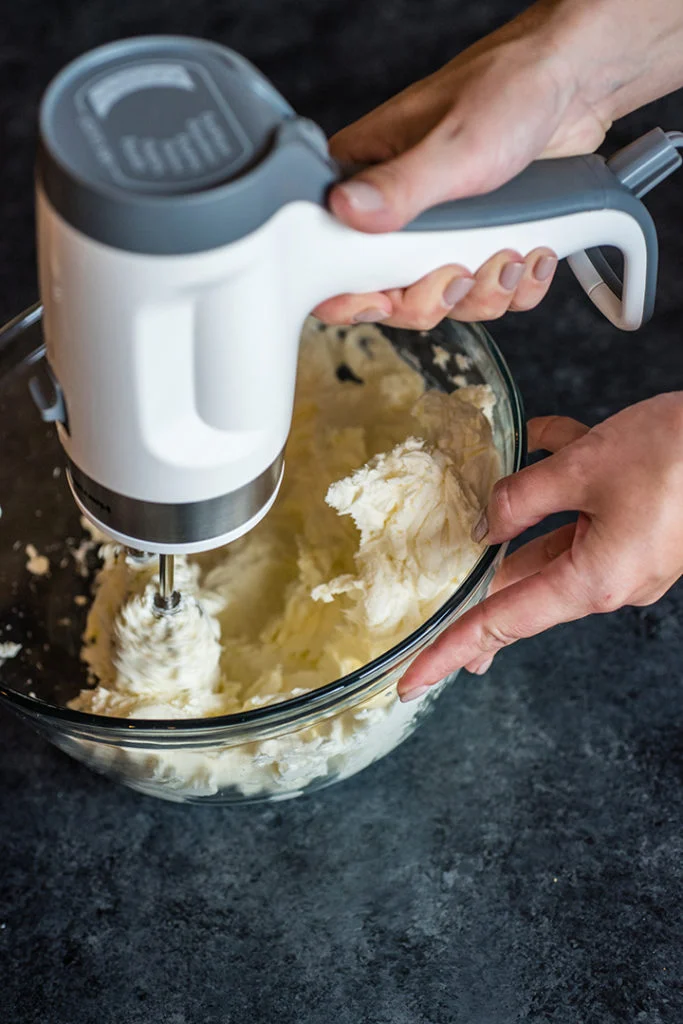
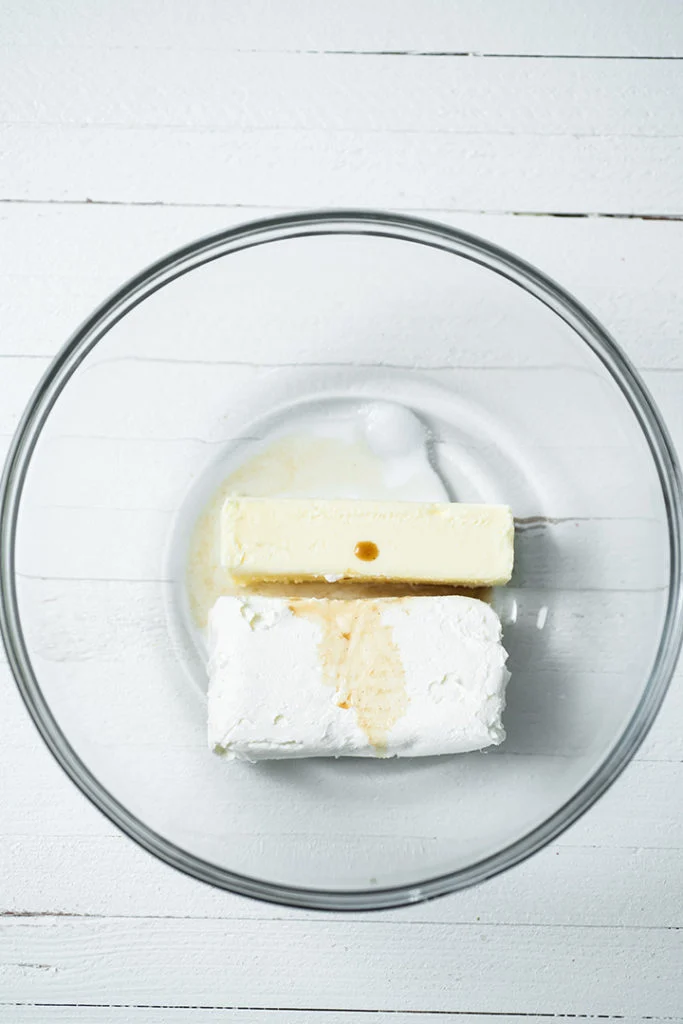
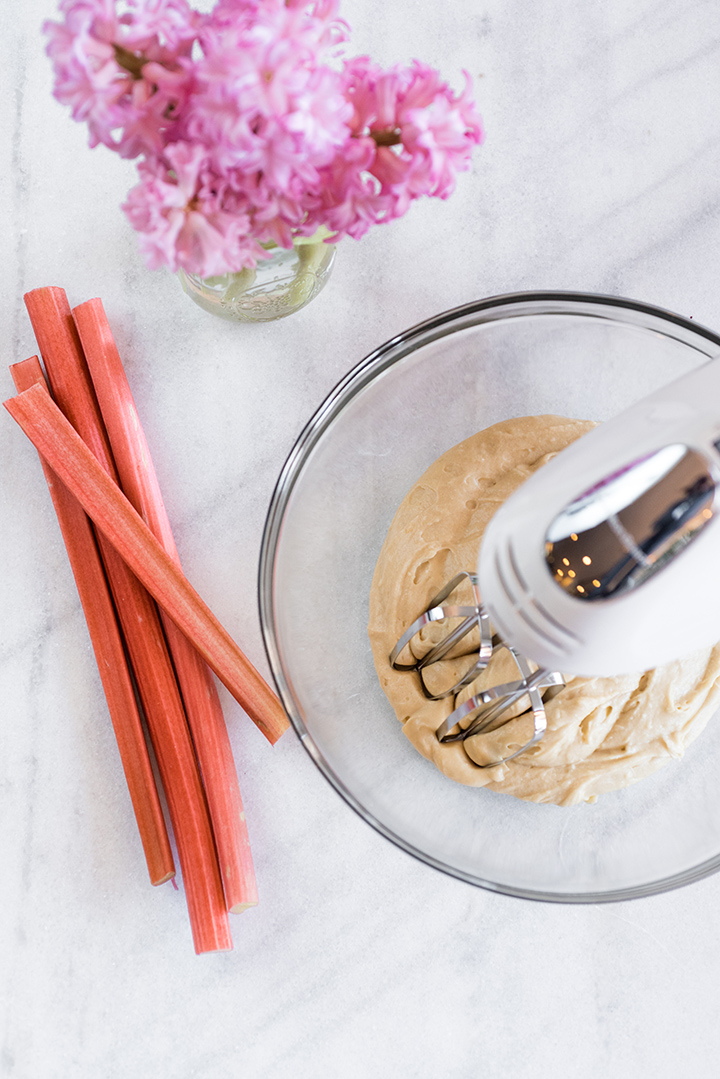
- In a large bowl, use hand mixer to cream the butter, sugar, lemon zest, and lemon juice on medium speed until smooth, about 1-2 minutes. Scrape bottom of bowl.
- Add egg, lemon extract, and yellow food coloring. If using liquid/gel food coloring, add 2-3 drops. If using powder, add a little less than ⅛ tsp. Mix on medium speed until combined.
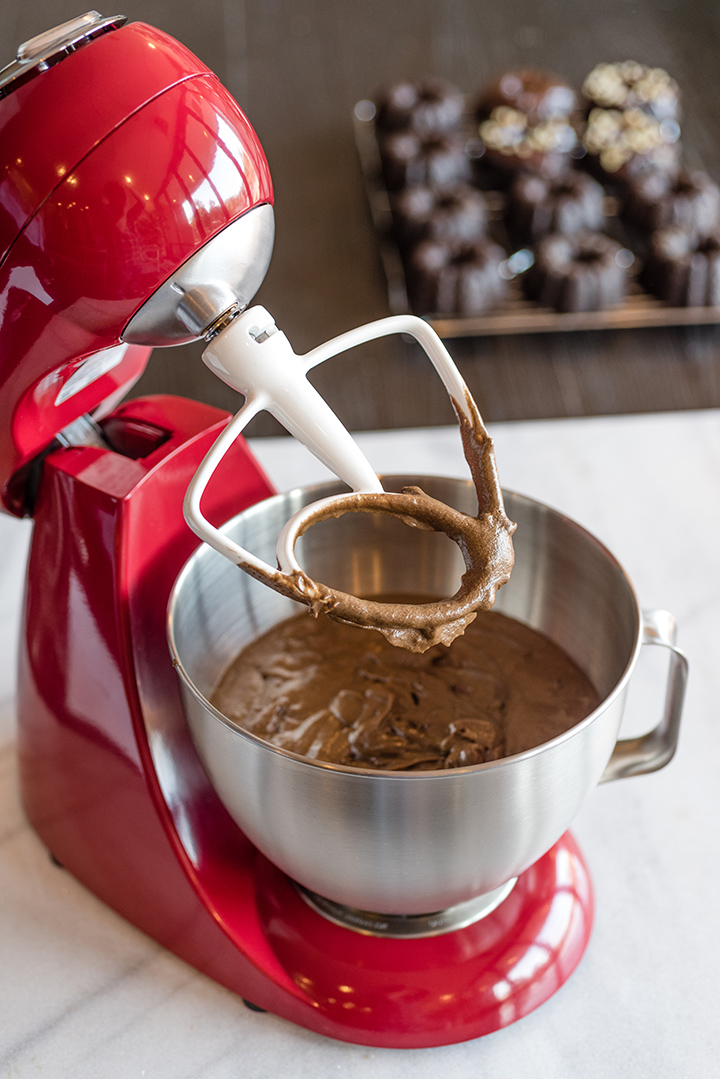
- Add all of the dry ingredients at once and use hand mixer on low-medium speed. Once most of the dries are incorporated, clean off hand mixer beaters and fold batter using rubber spatula until no dry flour remains.
- Preheat oven to 350°F/177°C and line one baking trays with parchment paper or silicone mats.
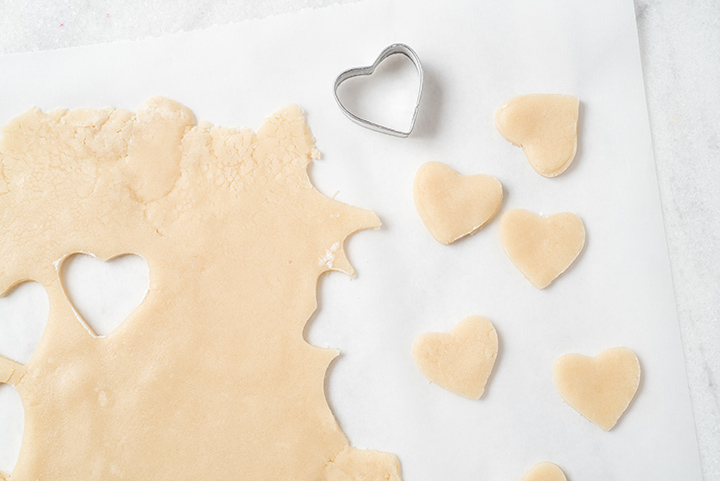
- Use medium cookie dough scoop to gather dough (about 1 ½-2 tablespoons each). Shape into ball, place onto lined baking tray, and flatten slightly with palm of your hand. This will be the chick's head.
- For the tufts of hair, take about ¼ tsp of dough, roll shape into ball, and place on top of the head. Repeat with a slightly bigger or smaller piece of dough, and place it next to the other ball.
- Place chicks about 3-4 inches apart.
- Bake for 10-12 minutes. Cookies should look slightly puffy + soft, and the edges should be set + firm. They should retain their yellow color and not be browned at all.
- Let cool on pan for about 5 minutes, then transfer to wire rack. Let cool completely.
- To add the faces, use black, white, orange, and pick colored melted white chocolate with oil-based food coloring.
- Place into small piping bags and cut a small tip. Use the black for the eyes, white for the very top edge of the eyes, orange for the beak, and pink for the blush.
- Enjoy!
Notes:
- Make sure you use oil-based food coloring for the white chocolate, or the colors will not blend well.
- Store cookies in an airtight container at room temperature for up to a week.